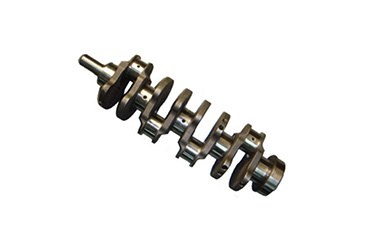
The wear of the front and rear oil seal necks on the engine crankshaft: when the radial runout tolerance exceeds 0.06mm, it should be addressed.
Release time:
2023-08-31
① Inspection method for crankshaft journal wear: The inspection of crankshaft journal wear mainly involves measuring the roundness and cylindricity deviation of the journal using an external micrometer.
① Inspection method for crankshaft journal wear: To inspect the wear condition of the crankshaft journal, the main method is to use an external micrometer to measure the roundness and cylindricity deviation of the journal, as shown in Figure 2-15. The method is as follows: first measure at the maximum wear point of the journal to find the minimum diameter, then find the maximum diameter with minimal wear on the same cross-section. At this point, half of the difference between the micrometer reading and the minimum diameter is the roundness deviation. Then, on the cylindrical surface, find the maximum diameter with minimal wear and half of its difference from the minimum diameter is the cylindricity deviation. If after wear, either roundness or cylindricity deviation of main journal and connecting rod journal exceeds 0.025mm, grinding should be performed on the crankshaft. The grinding of crankshaft journals is done on specialized crankshaft grinding machines; currently commonly used crankshaft grinders include M8820, MQ8260, MB8260, etc.
Latest News


